This gluten-free pie crust is knock-your-socks-off delicious and flaky! It requires just three ingredients that you probably have in your kitchen if you’re a gluten-free cook: gluten-free flour blend, butter and salt!
Yes you can easily make a flaky, gluten-free pie crust without eggs, milk or sour cream. Just follow my tips below.

Don’t worry, you won’t need fancy pie making skills to pull off this gluten-free pie crust.
It does the trick when you need pie crust in a pinch, and you’ll impress yourself (and others) when you know how to make pie crust from scratch.
I use this pie crust when making gluten-free chicken pot pie, galettes (like my blueberry galette) and quiche. It works for sweet pies and savory pies.
If you don’t have a rolling pin, that’s OK! Check out my rolling pin substitute ideas.
Let’s get started!
Gluten-Free Pie Crust Ingredients

1. Gluten-Free Flour Blend
I’ve successfully used the following gluten-free flour blends to make make pie crust:
- King Arthur Measure for Measure Gluten-Free Flour
- Bob’s Red Mill 1 to 1 Baking Flour
- Pillsbury Gluten-Free All Purpose Flour Blend
- Divided Sunset Gluten Free All Purpose Flour (delicious taste but harder to work with)
Be sure your gluten-free flour blend includes xanthan gum. This helps bind the dough together in the absence of wheat gluten.
2. Unsalted Butter
You’ll need 4 ounces of unsalted butter, which equals one stick.
The butter should be very cold. Put it in the freezer for 15 to 30 minutes immediately prior to making your gluten-free pie dough.
Very cold butter is a major reason why this pie crust is so flaky. When it bakes, the nodules of butter throughout the pie crust will melt, creating air pockets. But, if the butter melts while the pie dough is being worked with your hands, or rolled out, the crust will turn out more dense and less flaky.
3. Salt
Just 1/4 teaspoon of fine-grain salt.
Kitchen Equipment You’ll Need
Food processor – Pie dough can be mixed by hand, but I prefer using my food processor for maximum ease. Use the regular cutting blade.
Rolling pin – I use a french rolling pin to roll out pie crust, but any rolling pin you have will be fine.
Plastic wrap – As I’ll explain below, gluten-free pie crust is stickier than regular pie crust and plastic wrap will make rolling it out MUCH easier.

How to Make Gluten-Free Pie Crust
This recipe makes one gluten-free pie crust. Double the recipe if you need a top and bottom crust.
Warning: Gluten-free dough does not have the same feel or texture as regular pie dough made with wheat flour. Until you start working it with your hands, it will feel very loose and crumbly. Don’t worry, you haven’t ruined it!
Be sure to read all my tips below so you know what to expect.
1. Prepare the ingredients
- Cut 4 ounces of butter into 1/2 inch cubes and place in the freezer for 15 to 30 minutes
- Weigh out 6 ounces of gluten-free flour blend
- Set aside 1/4 teaspoon of a fine grain salt
- You’ll also need 2 to 4 tablespoons of ice water. I put an ice cube in a small bowl of water and have a tablespoon measure on hand
2. Combine the gluten-free flour and butter

Place the flour and very cold butter in a food processor with a regular blade. Pulse it quickly until the mixture looks like a bowl of tiny beads. It will not look like dough yet.
In my food processor this is about 25 very quick pulses. It’ll look like this:

3. Add the salt and water
Next, add the salt.
While continuing to pulse – slowly pour in 2 to 4 tablespoons of water through the feeder shoot of your food processor. Stop adding water when the mixture begins to stick together and to the side of the food processor, like this:

At this point you are just combining the ingredients. It will not look like dough until you start working it with your hands.
Tip: It is helpful to turn off the food processor and squeeze some of the dough between your fingers so you know when it’s sticking together. The important thing is to not add too much water. You may only need 2 tablespoons, so check the consistency before adding more.
The mixture shouldn’t feel wet. If you add a bit too much water it’s OK to add a little more flour to absorb it.
4. Work the dough with your hands
Carefully dump the crumbly mixture onto a piece of plastic wrap and work it into a ball with your hands.
Your dough will not stick together on its own until you work it into a ball. Don’t be concerned, it’ll still turn out when you bake it.

5. Refrigerate the pie dough for 15 minutes
Place the dough ball into your refrigerator for 15 minutes before rolling it out. This will give it a chance to firm up and make it easier to handle.
Keeping the dough cold also ensures the butter doesn’t melt – which is a secret to super flaky pie crust.
6. Roll out the pie dough
Gluten-free dough is much more sticky than regular dough. Without the tip I’m about to share it’s near impossible to roll out.
Tip: Put a piece of plastic wrap (or parchment paper) on your counter and place the ball of dough on the wrap.
Start by using the heal of your hand to work the dough out until it’s flat.

Now cover the top of your flattened dough with another piece of plastic wrap and use your rolling pin to smooth and thin it out. The plastic wrap prevents it from sticking to your counter or rolling pin.

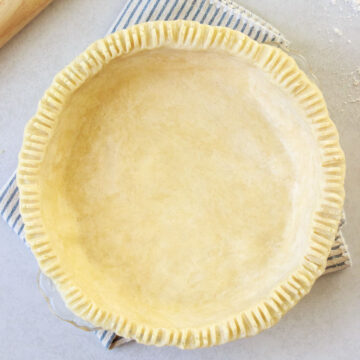
Once rolled out, your gluten-free pie crust is ready to use. You can use it to make pies, galettes, tarts or any recipe that requires gluten-free pie crust.
Warning When Handling Gluten-Free Pie Crust
Handle it carefully. Gluten-free pie crust is more delicate than regular pie crust and will crack when handled.
I’m not gonna sugar coat it, the pie crust will be tricky to handle, but don’t be discouraged. Just wet your finger to smooth out any cracks – no sweat. This isn’t a beauty contest, your pie crust doesn’t need to be perfect.
FAQ: Gluten-Free Pie Dough
What is your favorite gluten-free flour blend to use for pie crust?
I have not tested all the gluten-free flour blends side by side in order to do a comparison (yet!). BUT I have made pie crust with a variety of gluten-free flour blends and they turned out. Those blends are listed above in the ingredients section. I haven’t picked a favorite yet.
Why does gluten-free pie crust fall apart?
Gluten-free pie crust is crumbly, and it more easily falls apart because it doesn’t contain gluten. The gluten in regular wheat flour helps hold it together and give it that elastic feel when you make dough. Xanthan gum is added to most gluten-free flour blends as a substitute for the gluten and to help hold it together. But it’s not perfect.
Why is my gluten-free pie crust not flaky?
If your gluten-free pie crust isn’t flaky and turns out tough after baking, the butter probably melted while it was being handled and rolled out. It’s super important to use very cold butter and very cold water so the butter doesn’t have a chance to actually melt while you make the crust. You want the butter to melt while the crust bakes. It’ll leave behind air pockets and create flaky pie crust goodness.
Can I make this pie crust ahead of time and store in the fridge?
Yes you can make this pie crust the day before you need it and store it in the fridge. Just leave it as a ball and wrap it in plastic wrap. Take it out of the fridge about 2 hours before you need to use it and leave it on the counter – uncooked gluten-free dough gets quite firm when refrigerated.
How to roll out pie dough when you don’t have a rolling pin?
Until the last year I wasn’t making pie dough often enough to want to keep a rolling pin around. I enjoy being minimalist and am not usually a fan of one trick kitchen “gadgets”.
Here are some pretty common household items that work as a rolling pin substitute when you don’t have one. The important thing – you need a straight rounded edge.
- Wine or liquor bottle
- Drinking glass
- Mason jar
- Straight-edge glass vase
- Vinegar and salt often come in sphere-shaped vessels. Check your pantry for plastic containers storing food items.
I don’t recommend a tin can as they have a lip on the top and bottom that will create crevices in your pie crust.
Recipes With Gluten-Free Pie Dough
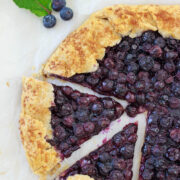
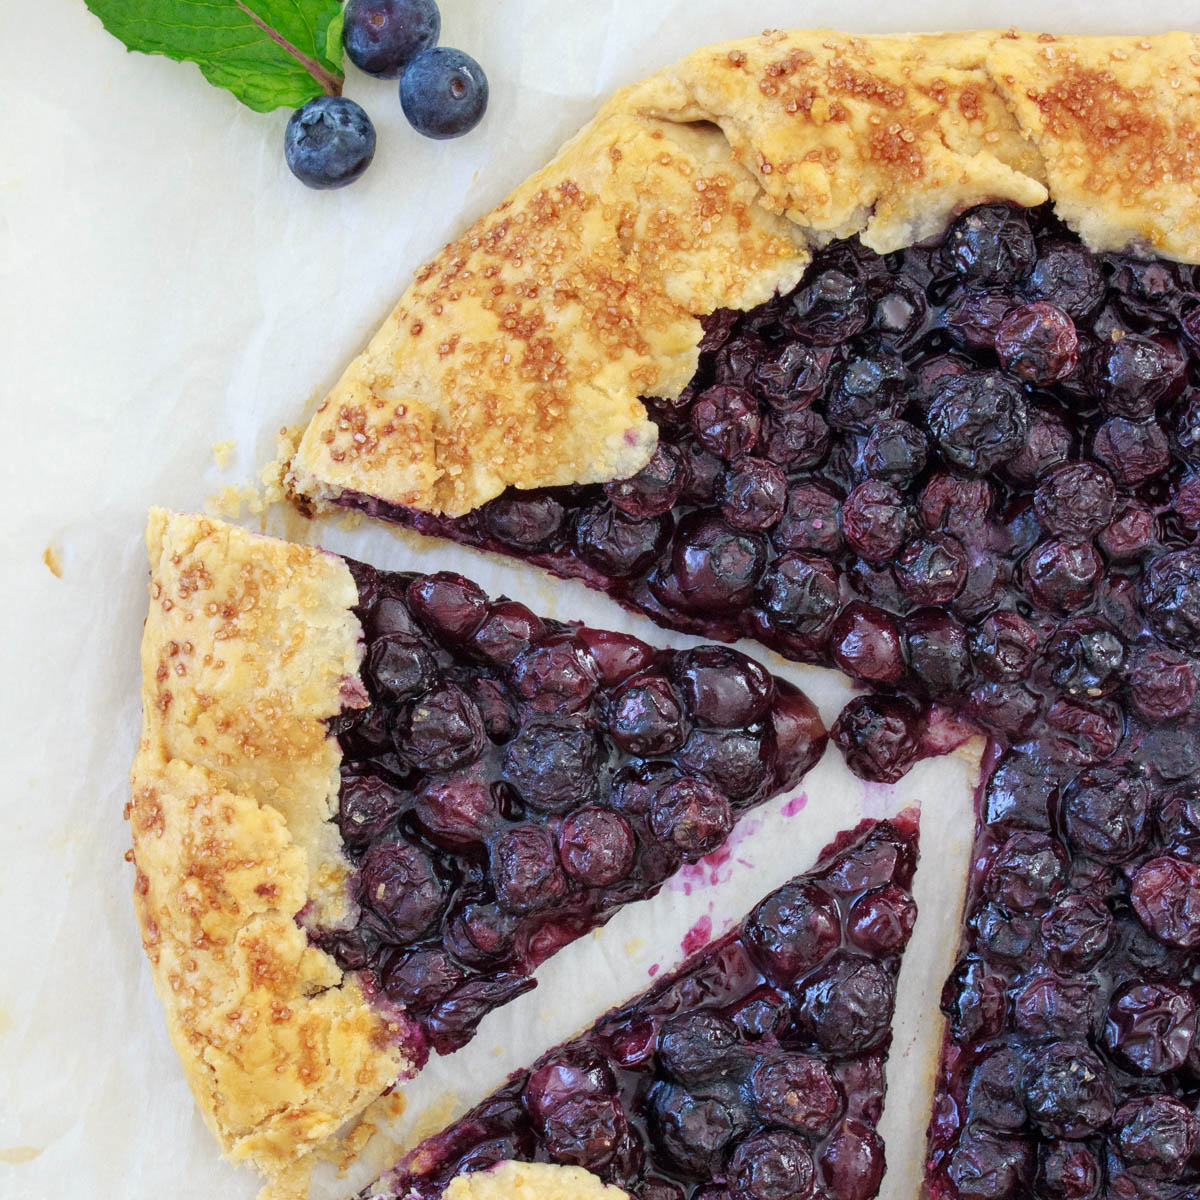
This blueberry galette is the perfect dessert to showcase blueberries this season. Sweetened with just a little maple syrup, it’s bursting with the flavors of blueberries, plus a flaky crunch from the homemade pie crust.
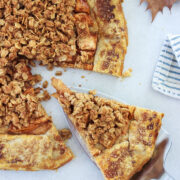
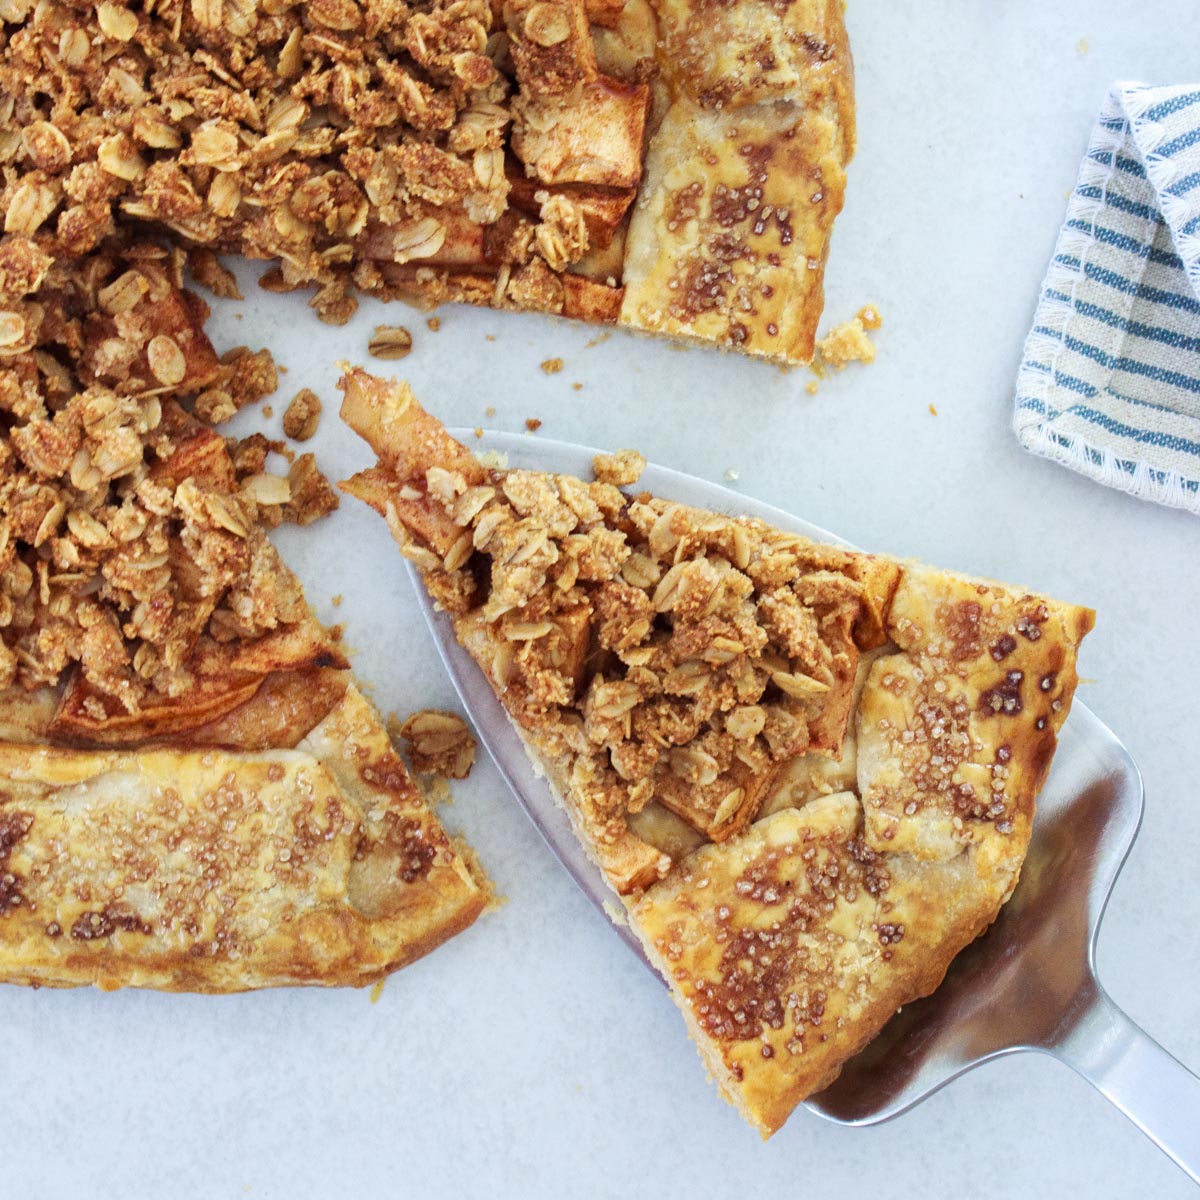
Apple Galette with Sweet Crisp Topping
This apple galette starts with a flaky crust, filled with apples and cinnamon and topped with a crunchy sweet crisp.
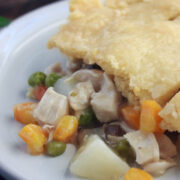
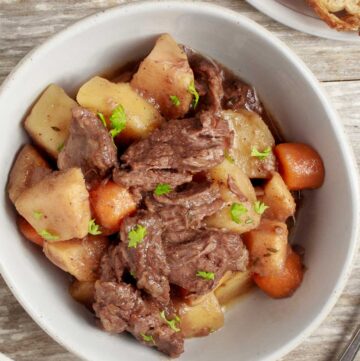
This cozy gluten-free chicken pot pie is a delicious winter meal. Healthy veggies and a homemade gravy tucked under a flaky pie crust creates a satisfying combination of textures. And no soggy crust on the bottom! Chicken pot pie is a crowd-pleaser for sure.
Gluten-Free Pie Crust Recipe (Easy, Flaky!)
Equipment
- 1 Food processor
- 1 Rolling Pin
- Plastic wrap
Ingredients
- 4 ounces unsalted butter
- 6 ounces gluten-free flour blend with xanthan gum
- 1/4 tsp fine grain salt
Instructions
- Cut the butter into 1/2 inch cubes and place in the freezer for 15 to 30 minutes.
- While the butter is chilling, measure out the other ingredients so they are ready.You’ll also need 2 to 4 tablespoons of ice water. Put an ice cube in a small bowl of water and have a tablespoon measure on hand.
- Place the flour and chilled butter in a food processor with a regular blade. Pulse it quickly until the mixture looks like a bowl of tiny beads. This will take about 25 pulses, or more depending on your processor.
- Next, add the salt.While continuing to pulse – slowly pour in 2 to 4 tablespoons of water through the feeder shoot of your food processor. Stop adding water when the mixture begins to stick together and to the side of the food processor.It will not look like pie dough yet. Squeeze some between your fingers to check for it sticking together so you don't add too much water. The mixture shouldn't feel wet; if it does, add a bit more flour.
- Carefully dump the crumbly mixture onto a piece of plastic wrap and work it into a ball with your hands.
- Place the dough ball into your refrigerator for 15 minutes before rolling it out. This will give it a chance to firm up and make it easier to handle.
- To roll out the pie dough, put a piece of plastic wrap (or parchment paper) on your counter and place the ball of dough on the wrap. Start by using the heal of your hand to work the dough out until it’s flat.
- Now cover the top of your flattened dough with another piece of plastic wrap and use your rolling pin to smooth and thin it out. The plastic wrap prevents it from sticking to your counter or rolling pin.


Leave a Reply